
Shaping Sound
What really happens after the music is recorded

In my piece “Capturing Sound” from a couple of weeks ago, I started digging into the process of making an album. Here’s a quick overview to remind you of the main steps:
Pre-production: Plan the record, choose material, and select a producer and engineer.
Recording: Capture the sound.
Editing: Clean and align raw recordings.
Mixing: Shape the sonic feel of the record.
Mastering: Final polish.
Distribution & Release: Share it with the world.
Today, I want to explore with you what happens after you finish recording the music in the studio, so I’ll look into editing, mixing, and mastering. If you’d like to know more about pre-production and recording, check out my previous post below:

As I mentioned at the end of the article, shortly after you leave the studio, the engineer or producer will send you some “roughs” to listen back to. These are full tracks with edits and a very basic mix.
What are edits?
When you record a track, you often want to have a go at the music three or four times in a row. These are called “takes.” You press record, play the whole piece from beginning to end, and that becomes a take. As in real life, though, there’s no such thing as a perfect take. So at the end of the process, you have to pick your best one and try to work with it.
Usually—but not always—this process can happen while recording. You go back and listen to all the takes and make a choice. If a take isn’t perfect but has a very good vibe, you can choose it right away and see if the mistakes are fixable. (This is where the engineer or producer is vital in suggesting what can or can’t be fixed.) Sometimes you can do an edit of two different takes—like using the first half from one take and the second half from another—but here you have to be very careful that the tempo is exactly the same (hence the use of a click track sometimes), or they won’t line up smoothly. An experienced engineer can make a quick edit on the spot (to be polished later) so you can see if it works.
There are many reasons why you might need to pick takes already during the recording stage. First of all, if you need to do overdubs (very often in my world, you save those for the last day of a recording session), you need to have a complete, edited take to overdub onto—so you need that ready pretty urgently. Secondly, you really need to know that you’ve recorded enough usable material before you leave the studio. There’s nothing worse than picking through all the takes three weeks after recording only to realize that there’s no take you’re happy with.
If you're not planning on doing major edits or overdubs, you can walk away with three or four takes and decide later which one you like best—but to be honest, that’s quite rare these days…
Overdubs are always possible later on, but once again, it depends on the kind of record you’re making. If this was a live performance in a church, for instance, you wouldn’t be able to add another instrument two months later without compromising the sound—especially if it’s recorded in a different space with a different acoustic.
Real, in-depth editing happens in post-production. So let’s take a look at what that actually involves.
Editing can be defined as the art of manipulating and refining recorded music. This process can include:
Cutting and splicing: Removing unwanted parts, rearranging sections, adding intros or codas.
Timing corrections: Not always possible, but sometimes you can fix the position of individual notes if the timing isn’t perfect—though only with instruments recorded in isolation and with no spill (see my previous article on this).
Pitch correction: You can fix notes that aren’t perfectly in tune. But again, not everything can be fixed, and excessive use can become audible. An interesting side note here is the history of Auto-Tune—a tool originally created to fix pitch issues subtly, which later became a recognizable effect in itself due to its overuse.
Comping: Selecting the best parts from multiple takes to create one “perfect” track. This is what I mentioned earlier—the idea of combining parts from different takes into one.
Cleaning: In this phase, you also clean up beginnings and endings, eliminate background noises, pops, clicks, etc.
Back in the days of tape recordings, editing was done physically by cutting and splicing tape. If you want to see what that looked like, check out this video:
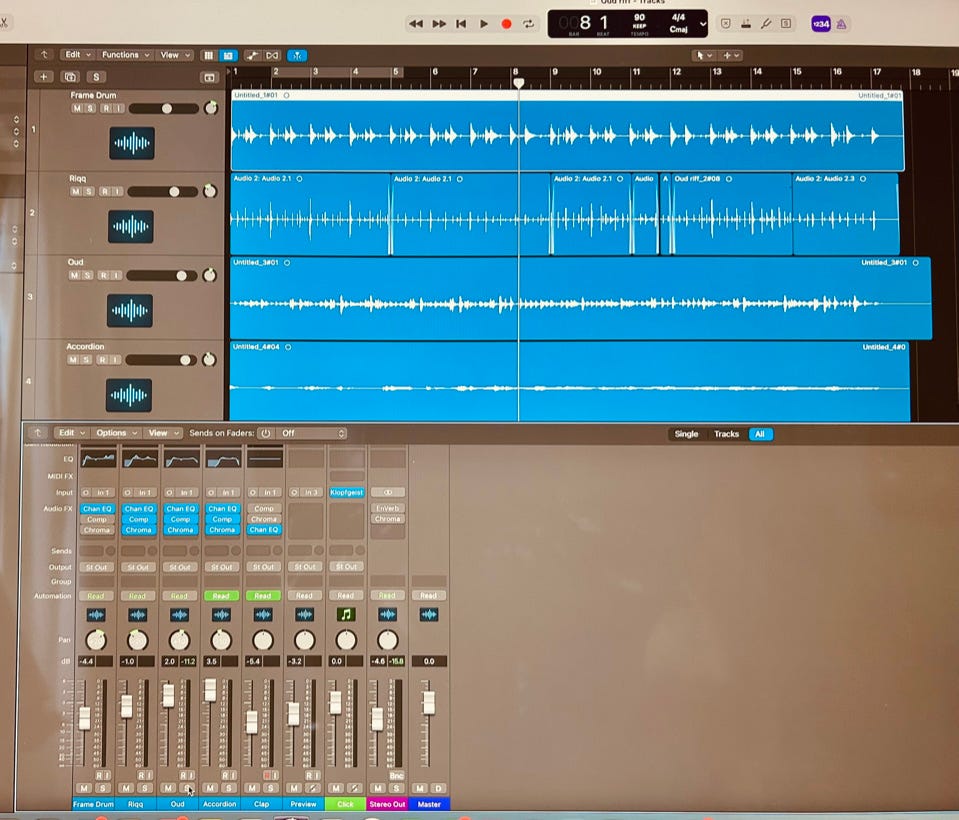
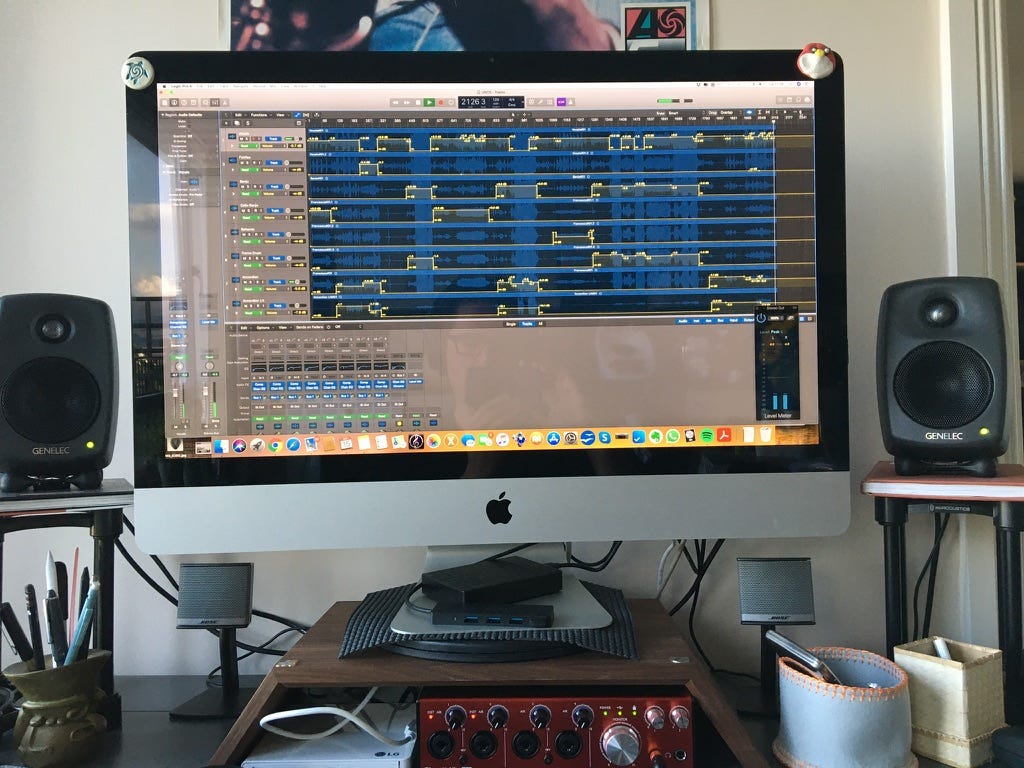
I’m mindblown watching this and realizing how complicated editing was back in the tape days. Not to mention how unforgiving a mistake could be once you actually spliced the tape—there was no going back. Nowadays, editing takes seconds, since music is recorded digitally using a DAW (Digital Audio Workstation). This is a piece of software that allows you to record, edit, produce, and mix audio and music on a computer.
Recording this way gives you the freedom to experiment—if something doesn’t work, you can go back to the original in two seconds, like nothing ever happened. Today, audio recording technology is truly accessible to everyone, and many musicians have learned to record themselves and even produce entire albums from home—often at a commercial level. (Think of Billie Eilish or Jacob Collier.)
In classical music, editing has become an artform in itself. Skilled engineers can fix single notes or chords without anyone noticing (at least most listeners), and I’ve seen three-minute tracks with more than 200 edits—true Frankensteins. As I mentioned earlier, you really have to ask yourself what the meaning and ethical implications of this kind of “surgery” are.
If recorded music is meant to reflect a kind of perfection that’s unattainable in real life, then what’s the point? I understand it more in the context of highly produced music, where the final product is clearly a result of studio work and technology—something not necessarily intended to reflect a live performance.
Mixing
I can’t even begin to emphasize how important mixing is in the making of an album—but it’s also one of the more abstract parts for people outside the music world to understand. So, I’ll use a culinary comparison.
Imagine you’re making a simple tomato sauce. You taste it as you go and adjust for balance. If your tomatoes are too acidic today, you might add a bit of sugar. If they’re too sweet, you might add more salt. Ultimately, you're aiming for the perfect balance of all the elements you think your tomato sauce should have: sweetness, acidity, consistency, and so on.
That’s exactly what you do with audio mixing. You combine and balance all the individual elements of a piece into a final stereo audio track that sounds cohesive and polished.
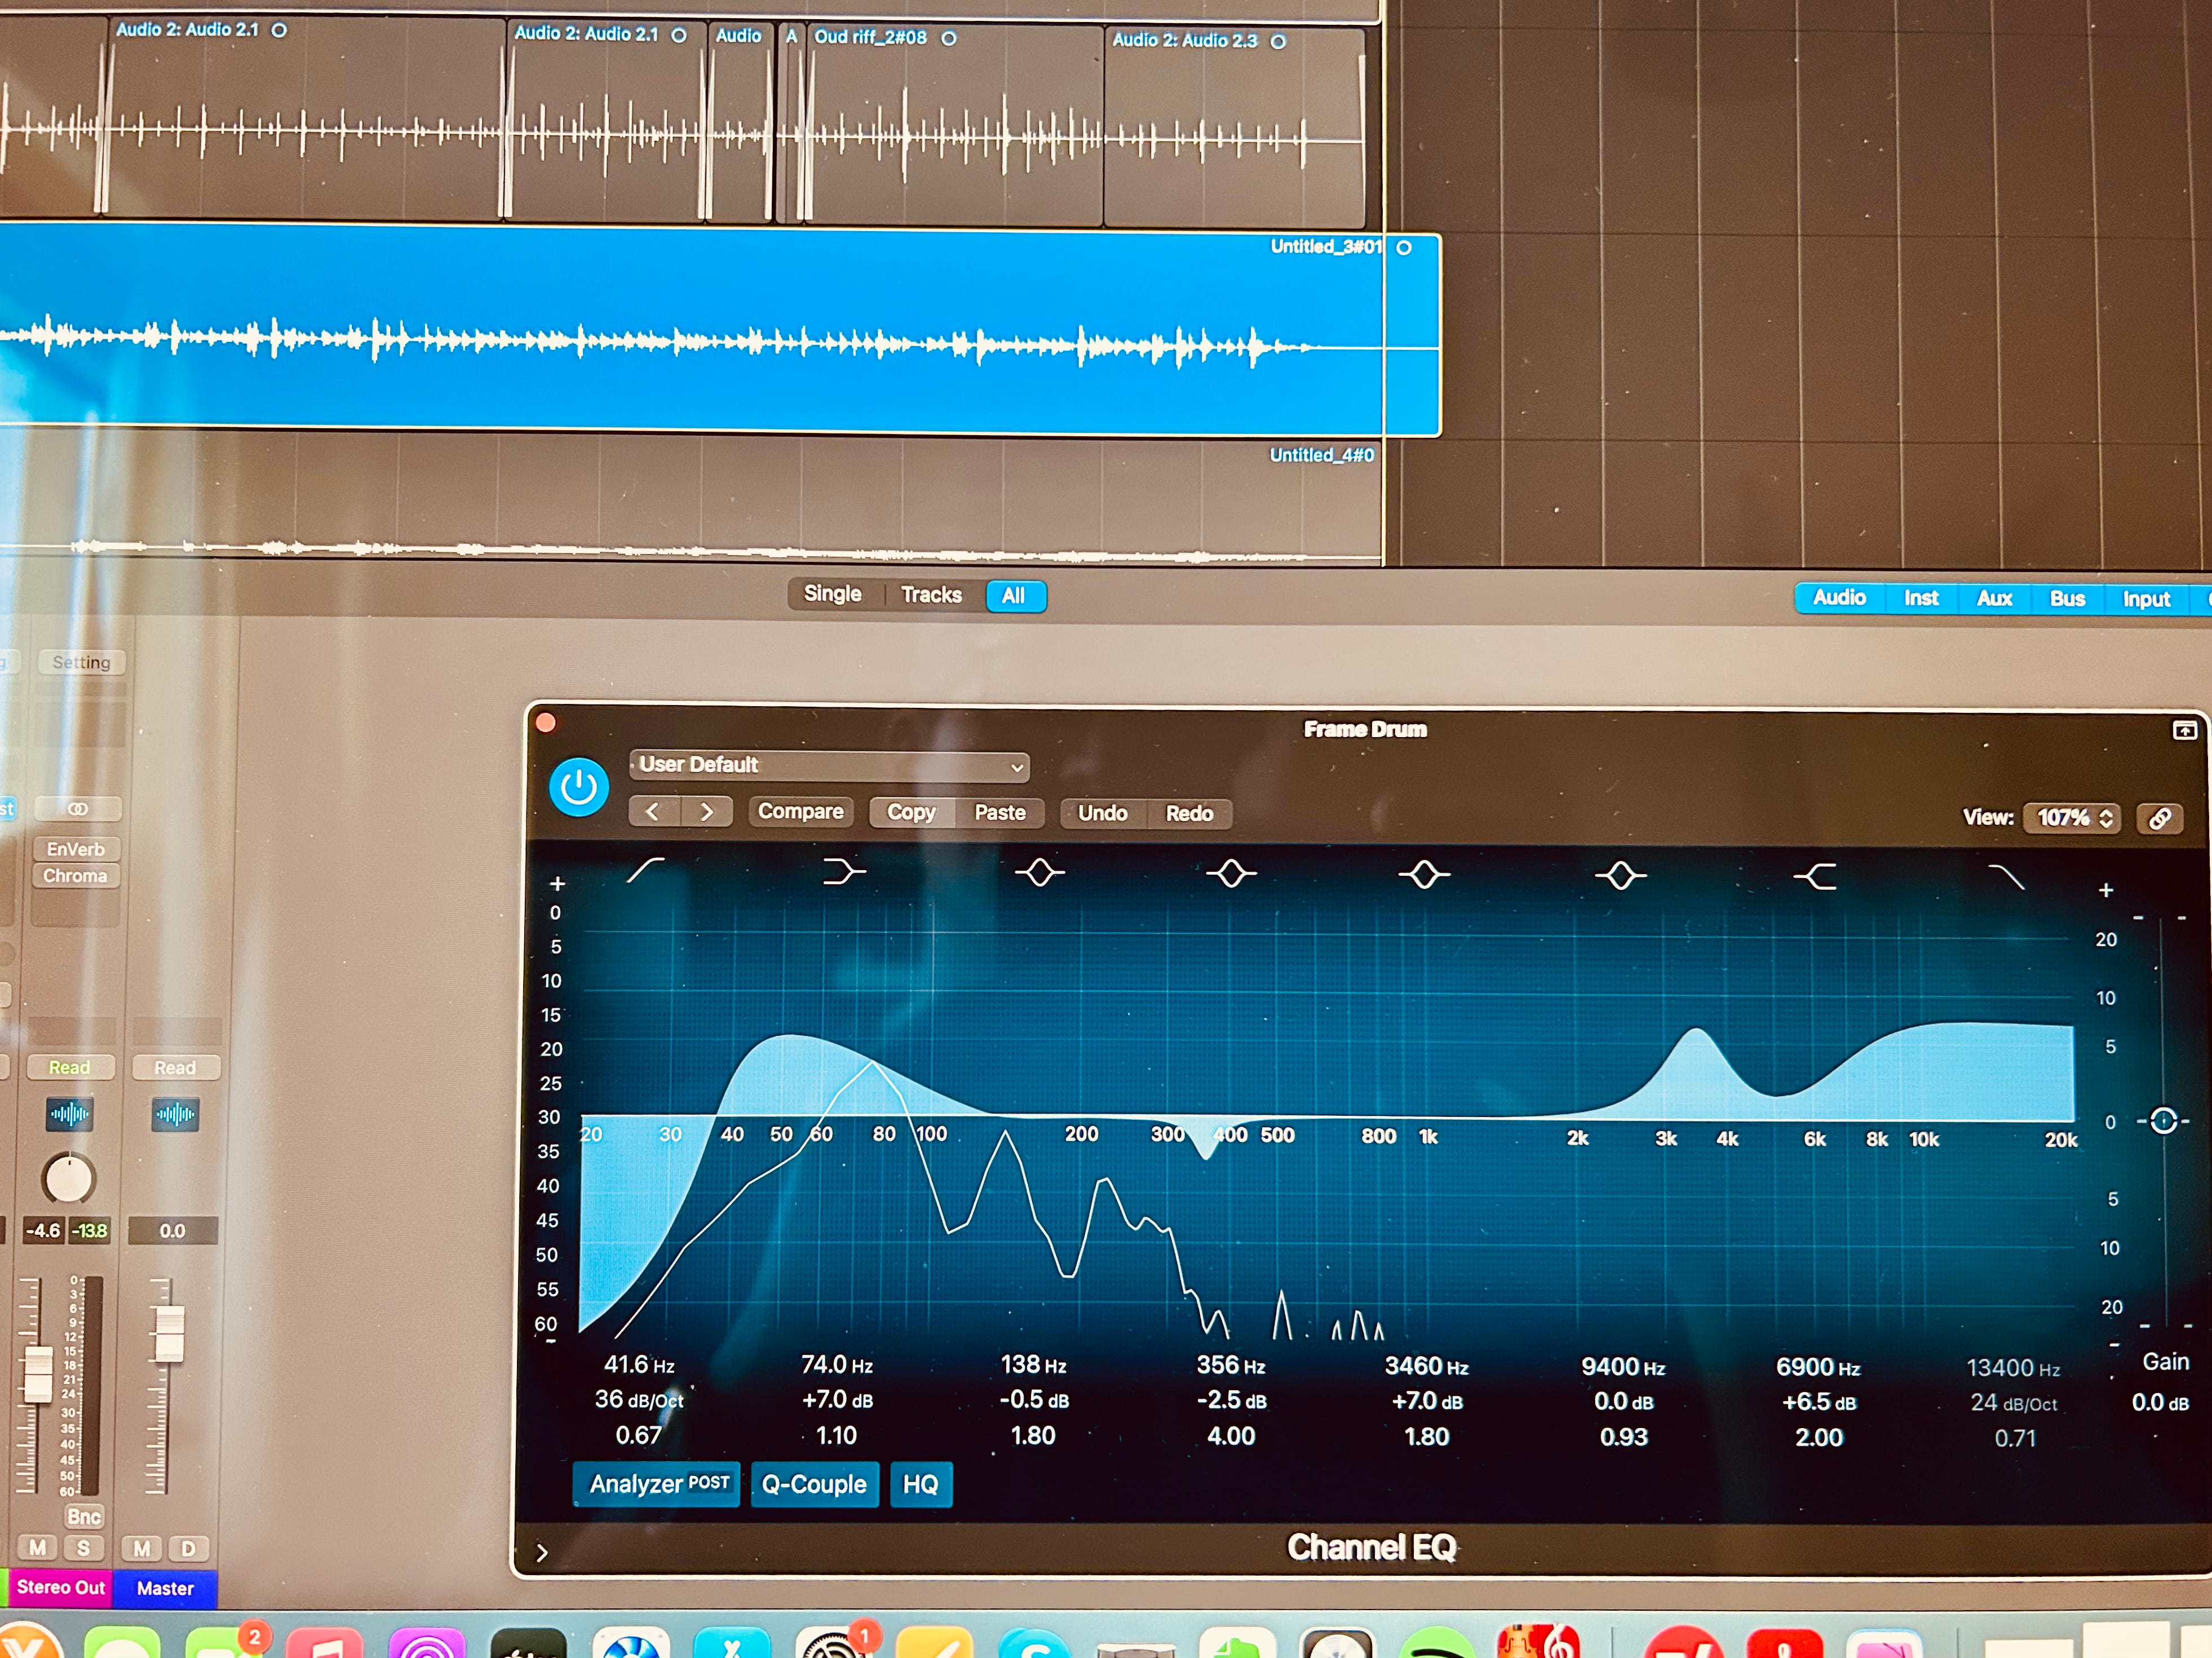
One of the great things about modern technology is that you can adjust how each ingredient in your track “tastes” (to a certain extent) during post-production. As I mentioned earlier, the choice of microphone and mic placement has a huge influence on the sound of each instrument. But some changes can still be made during the mixing phase using EQ.
Think of equalization (EQ) as choosing the color palette of your instrument. By boosting or cutting specific frequencies, you can create darker or brighter “colors” until you land on something that feels right and fits into the overall picture. Your ears and your experience are the only judges here—just like your taste buds are if you’re the chef.
But I’ve seen very experienced musicians go into a panic because they hear something isn’t right, yet they don’t know how to communicate it in more concrete or technical terms to a sound engineer. We often describe sound and music in abstract, emotional, and artistic ways—and this can be problematic when working with an engineer who is used to describing sound in more scientific and objective terms (like frequencies).
That’s why it’s so important to work with someone who really understands you and the sound you’re trying to create.
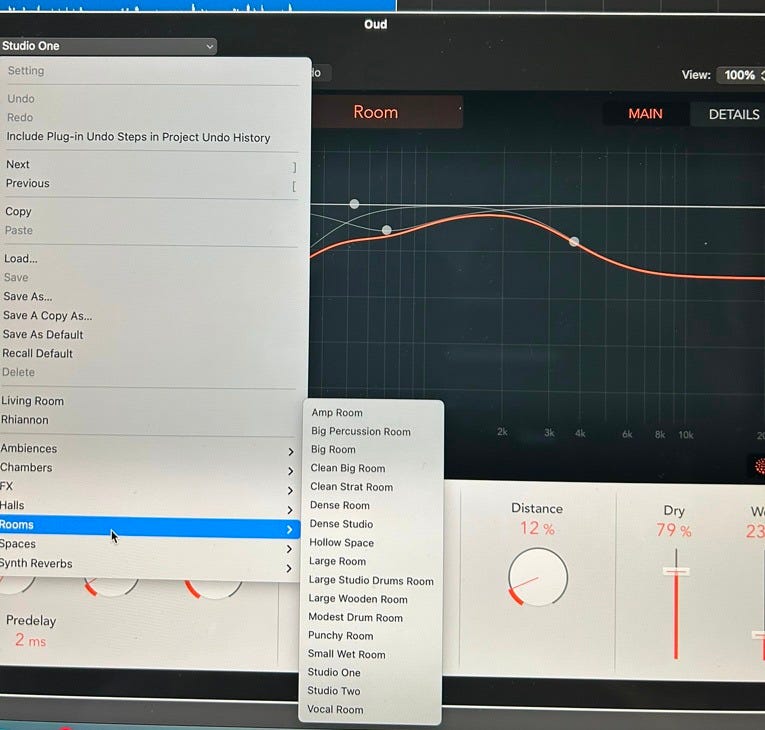
You can also add effects at this stage, such as reverb. Reverb usually simulates the natural echo of a large, resonant space, adding warmth and a sense of depth to the sound. So if you recorded in a church, for example, you probably wouldn’t need any artificial reverb—your mics would already have picked up plenty of the natural acoustics. In these types of spaces engineers often place microphones in the back of the church only to pick up the natural reverb, which can then be mixed in at a later stage.
But if you recorded in a very dry studio, you might want to add a touch of reverb to create a sense of space and warmth. An artificial reverb can simulate many different real acoustic spaces and reverb plug ins for your DAW usually offer options that recreate spaces from a small room to a concert hall or a church.
Other effects—like chorus, delay, or distortion—don’t simulate natural acoustics. They’re more like special effects and are less commonly used in recorded acoustic music, though they can be powerful tools when used tastefully.
Once you've crafted the sound of each individual instrument, the next step is balancing levels. This means adjusting the volume of each channel so they all sit well together in the mix. It’s like saying, “Hmm, there’s too much salt in this sauce—I need more acidity to come through.”
Sometimes, though, you can’t settle on one fixed volume for an entire track. That’s where a process called automation comes in. Automation allows you to program changes over time—like volume fades, panning, or effect adjustments—throughout the course of the track. So, for example, if you want the trumpet to be louder during a solo but quieter under the vocals, your DAW can automate those volume changes seamlessly.
During the mixing phase, you’ll also work with panning. Panning gives the mix space and width by placing sounds across the stereo field—left, right, or center. This can add incredible depth to the music and replicate the feeling of listening to a band on stage, where instruments are physically placed in different positions and are perceived across different parts of the stereo spectrum.
Once a mix is done, you typically go through the exhausting and seemingly never-ending process of listening back to it a thousand times, taking notes, and tweaking anything you're not happy with. Honestly, I think this phase of over-listening is the number one reason most artists don’t want to listen to their own records ever again once they’re released.
Also, keep in mind that most artists are never fully satisfied with what they’ve recorded. So having to listen to everything they don’t like—over and over again, in a short period of time—can become a pretty self-destructive process.
When the artist and producer finally approve the mix, it moves to the final phase: Mastering.
Mastering
Mastering can sometimes feel like the secret dark art of the music world. Honestly, many musicians wouldn’t even be able to clearly explain what it is—or more importantly, what difference it actually makes to the final product.
I tried an experiment: I asked ChatGPT to define it, and it came back with this:
Mastering is the final step in the music production process. It involves taking the final stereo mix of a song and preparing it for distribution by enhancing its overall sound, ensuring consistency across playback systems, and making it competitive with other commercial tracks.
Not a bad definition, I guess—but let’s try to dig a little deeper.
Usually, a final mix already sounds pretty good. So why do we need mastering?
One thing to understand is that mastering addresses the overall sound of the music. While mixing focuses on the micro details of individual channels, mastering works on the macro level—on the complete stereo track and the cohesive sound of the entire album.
For example, mastering involves fine-tuning EQ to ensure the album sounds balanced and polished across different playback systems (hi-fi, car speakers, radio—and, alas, these days, phone speakers too).
It also deals with compression, which is one of those mysterious effects that’s hard to explain. In simple terms, compression controls the dynamic range of a sound. If a track has extreme highs and lows—very loud and very quiet sections—compression reduces that gap. It turns down the loudest parts and brings up the quietest, creating a more consistent volume level.
But if dynamics are such an important part of music, why would you want to sacrifice them?
That’s a great question. In fact, compression is used far more in commercial music than in classical or jazz. For example, a track meant for radio play needs a certain level of compression to maintain a uniform, balanced sound. Perhaps that’s why, when you listen to classical music on the radio while driving, you constantly have to adjust the volume—some parts are too loud, others too quiet.
In commercial music, compression can help vocals stay balanced and upfront in the mix, or give drums and bass more clarity and punch. But too much compression can make the music sound flat and lifeless—so it has to be used carefully (unless you’re using heavy compression as a deliberate effect).
Compression is often applied during mixing, but it plays a major role in mastering too—especially to ensure that the final product is ready for release and can hold its own in various playback environments, including radio.
Mastering traditionally requires specialized tools and very expensive gear. It’s also rarely done by the same person who mixed the record. That’s because it’s incredibly valuable to bring in a fresh set of ears—someone who hasn’t been living with the music for weeks or months—to provide an objective final polish.
That’s enough technical detail for one article—I’ll save the topic of distribution for the next piece.
If you enjoyed this piece and want to know more about the final phase of making an album, please consider becoming a free or paid subscriber to “Cooking by Ear”.
Great explanations of the different parts of the process!
Wow what a complex craft! I'd think it would be easy to lose track of the difference between a "mistake" and "perfection." Can you imagine the looks on the faces of the composers whose works you play if they witnessed that process? They'd be like Whaaaaaat?